Thursday, October 31, 2013
Installing Bronze Weatherstripping
Here is a video of me installing a strip of bronze weatherstripping. This stuff is a pain to install. I suggest 2 inches between nails. I used a nail set to get the nail heads flush with the metal strip.
You can see I'm not very good at using a hammer, but I don't think anyone will notice the hammer marks I made in the metal when I missed.
Wednesday, October 30, 2013
Installing the glass
Now that the sash is primed, it's time to put in the glass. I want a good seal to the glass despite a not so good edge on the sash for the glass to sit. I put glazing under the glass in addition to the normal glazing over the points.
Here is a video of me putting the glazing under the glass.
Don't worry about using too much glazing, because it can easily be trimmed off later. You should make it an even thickness all the way around to reduce the risk of breaking the glass.
You have to be careful when the glass in squeezed down on the glazing. Press the glass into the glazing in small, even amounts around the entire edge. Go around the edges several times until the glass is pushed down into the glazing.
The lower sash is a special problem. The top rail of the lower sash is not a rabbit edge, but a slot. The slot is filled with glazing, then the glass is pressed into it so it makes a complete seal over the glass edge. This step is not fun. The old hard glazing is hard to clean out of the slot. The slot must be the perfect size to allow the glazing to squeeze out when the glass is pressed in. Here's a video of me performing this step.
After the glass is pressed onto the underglazing, the points are installed.
The original points were flat diamond shapes. The replacements I used are the regular glazier points from the hardware store. I don't know how the flat ones were installed, but the new ones have flanges on them to allow a bent putty knife to be used.
Here's a video of me pointing the glass.
Then the outside edge is glazed. This is covered in so many threads and blogs that I'm not going to go over it here. I've seen some pretty bad demos of this step though. One bad one comes to mind is from the home improvement TV show 'Rehab addict'. That lady has no idea how to glaze a window. She just smeared it along the edge with her fingers then claimed to be an expert like everything else she does.
Here's a video of my brother doing it. He's not the fastest, but it looks good.
The glazing will have to dry and set for a loooong time before it can be handled without putting finger marks in it. How long? Well I would wait at least a month then paint over it. Even after several months, if I pick up a sash with my fingers in the glazing, it will dent.
Sunday, October 27, 2013
Parting member
I installed the last parting member on the 3 green room windows.
Here's some pictures.


 After I paint the faces of the pieces, the weatherstripping for the lower sash can be installed.
Then I can fit the latch and install it.
Then I can put the vertical trim / weight box covers back on.
Here's some pictures.
Then I can fit the latch and install it.
Then I can put the vertical trim / weight box covers back on.
Wednesday, October 23, 2013
Prep for Paint
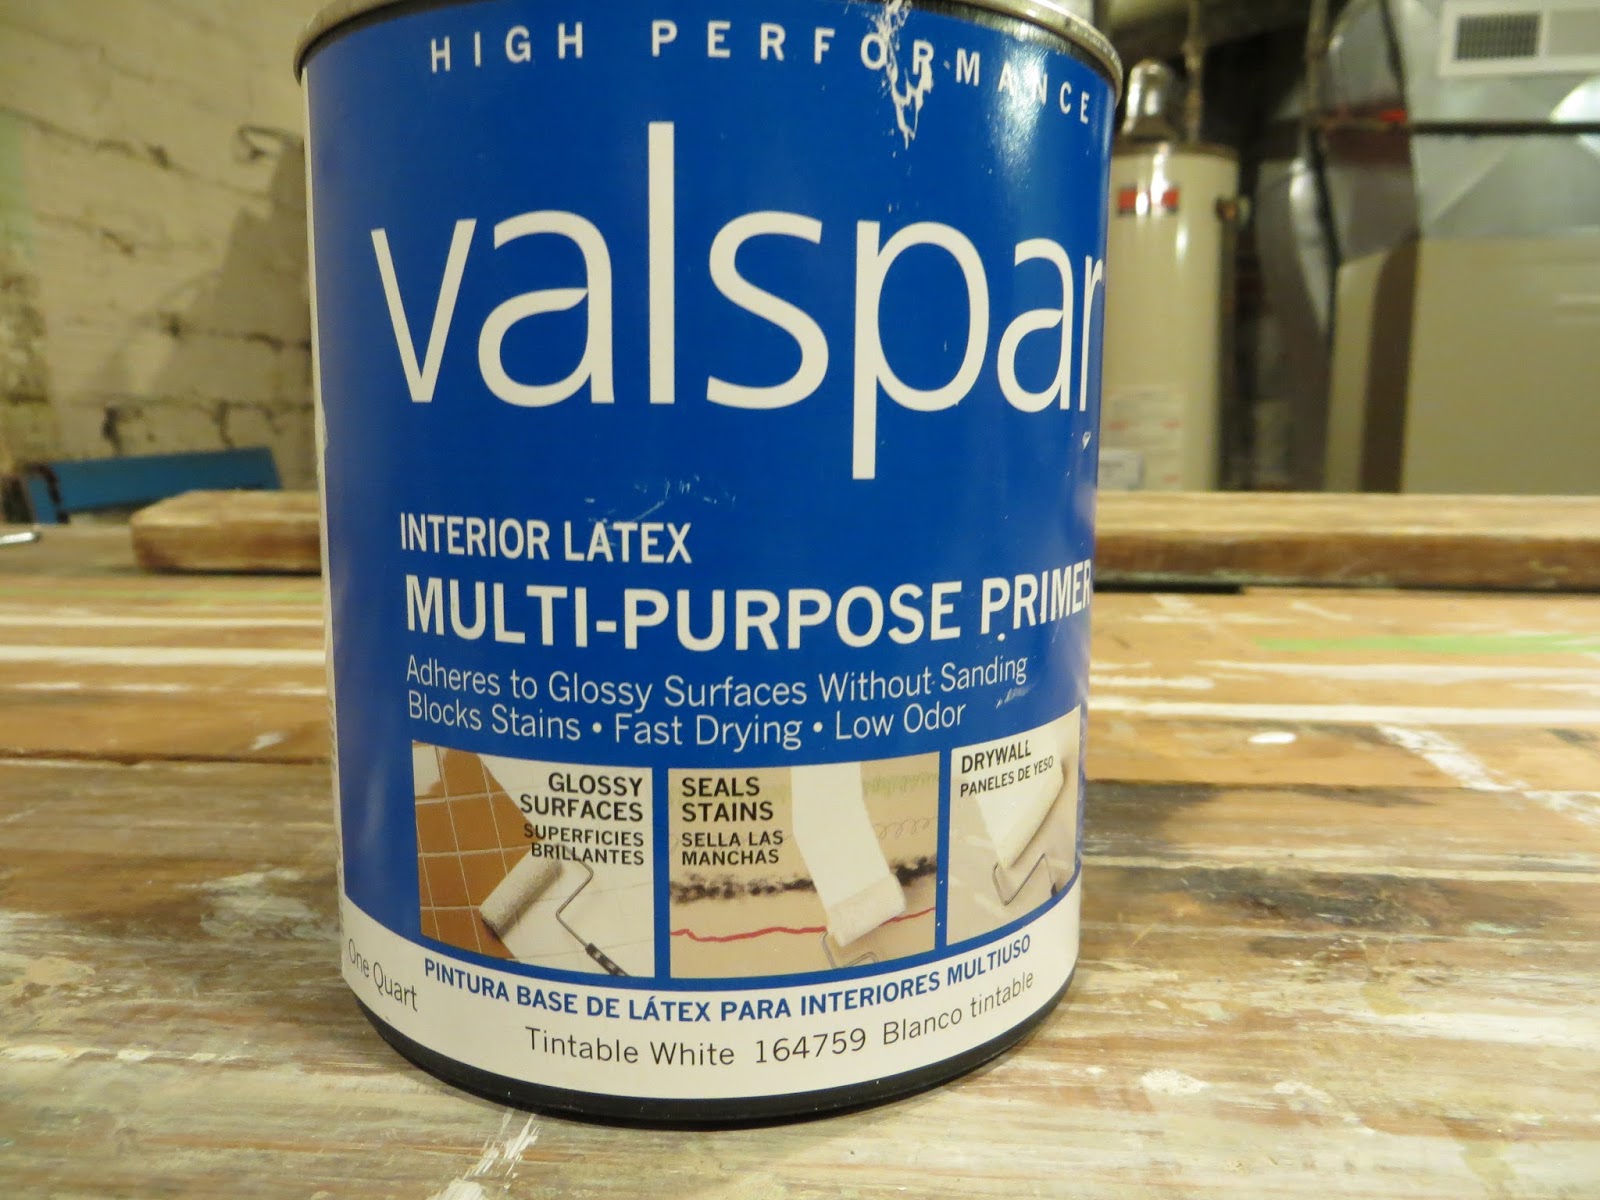
I'm doing a 2 step paint process that uses a primer base coat and a color top coat. I use an interior latex white primer. I've tried several brands of primer, and my least favorite one is Zinsser. It is too thick and leaves a lot of brush strokes. The surface after using the Zinsser isn't smooth and requires some sanding to make it smooth. 'Sanding' primer is really just rolling some of the paint off. It doesn't create 'sawdust', just these little 'rolls' of paint. I like the store brands from Ace hardware, or Lowe's. They are thinner, but still cover well. The purposes of primer on bare wood is to fill in little imperfections in the wood, conceal any dark spots from the heat gun or dark grain, and allow the latex color coat to stick to the wood better. I don't really think there's any difference between exterior and interior primer even if the paint manufacturer or store clerk says so. Latex top coats are the ones that have to stand up to the environment, so I would think they are the ones that would have better resins for exterior and better washing ability for the interior version.
One thing I forgot to mention and it's very important - The screw holes for the upper sash latch should be made NOW. The reason is that the latch for the upper sash is on the top of the bottom rail of the sash next to the glass. (did that make sense?) The screws need pilot holes that have to be drilled. If you put the glass in first, you won't have room to get a drill straight to make the hole, and a power tool might break the glass. I forgot to do this on one upper sash, and I'm not sure what to do. I'm going to install it this weekend, and I'll write what I did.
Drill the latch pilot holes and screw the upper sash latch piece on, then take it back off to paint. Cover the screw holes with a bit of painters tape so the paint doesn't fill them up.
I'm priming before the glass is installed because if the glazing is put on unsealed wood, the oils (linseed oil) will get drawn out of the glazing and make it crack. The old method is to seal the wood with linseed oil, but I don't like to use the stuff due to it's property of spontaneously combusting if it's put in a covered trash container.
Monday, October 21, 2013
Wood Epoxy
After the excess glue is removed, it's time to see where epoxy repair is needed. The epoxy is a 2 part putty epoxy that sticks and dries to wood very well. The holes and dents need to be prepared by removing any dust or debris with tack cloth. Tack cloth is recommended only for areas where a reside is ok. This stuff leaves a sticky resin on the wood that makes the epoxy stick. I wouldn't use it to prep for painting, because the residue would create problems for the finish.
Here is a video of me using Tack Cloth.
This is the kind of epoxy I used.
 Wear rubber gloves when you use this stuff. Only mix equal parts to make a blob about 1 in. in diameter.
If you mix too much at once, it will start to harden before you use it all unless you're filling large holes.
This stuff is rock hard and can be chiseled and sanded just like wood. The best part is is won't come out of holes and shallow dents. It acts just like it's part of the wood around it, except it's harder. You have to be careful not to damage the wood around it when trying to shape it due to the differences in hardness between the epoxy and wood. Once you paint it, it disappears. I can't see any of the nail holes I filled in the vertical trim pieces.
Here is a video of me applying the wood epoxy.
One note - I only use epoxy filler on sashes and areas that will be exposed to water or sun. The cracked areas of the sill are a good example of where to use epoxy. The interior parts that need patching, like the horizontal pieces above the window where the old curtain fixtures were removed, were patched with a regular wood putty because it's way easier to sand down.
After shaping and sanding everything down good with 100 then 150 grit sandpaper, it's time to prime the wood in the areas that will be painted.
Here is a video of me using Tack Cloth.
This is the kind of epoxy I used.
If you mix too much at once, it will start to harden before you use it all unless you're filling large holes.
This stuff is rock hard and can be chiseled and sanded just like wood. The best part is is won't come out of holes and shallow dents. It acts just like it's part of the wood around it, except it's harder. You have to be careful not to damage the wood around it when trying to shape it due to the differences in hardness between the epoxy and wood. Once you paint it, it disappears. I can't see any of the nail holes I filled in the vertical trim pieces.
Here is a video of me applying the wood epoxy.
One note - I only use epoxy filler on sashes and areas that will be exposed to water or sun. The cracked areas of the sill are a good example of where to use epoxy. The interior parts that need patching, like the horizontal pieces above the window where the old curtain fixtures were removed, were patched with a regular wood putty because it's way easier to sand down.
After shaping and sanding everything down good with 100 then 150 grit sandpaper, it's time to prime the wood in the areas that will be painted.
vinyl weatherstripping
Here's a pic of how I decided to weatherstrip the upper sash so it won't rattle.
This type of weatherstrip has adhesive along one edge. You attach it to the parting member and fold it over. I got the 'Ace' brand locally.


This type of weatherstrip has adhesive along one edge. You attach it to the parting member and fold it over. I got the 'Ace' brand locally.
Sunday, October 20, 2013
Sash with original 1910 finish
Here is a picture of a sash I found in an upstairs storage area accessed by a little door flap.
I think it was from a replaced kitchen window long ago. It shows the black lacquer paint on the glazing side. The inside looks like it's stained somehow.


I think it was from a replaced kitchen window long ago. It shows the black lacquer paint on the glazing side. The inside looks like it's stained somehow.
Saturday, October 19, 2013
Gorillia glue FTW
Now that the paint, glazing and glass are gone it's time to see what shape the corner joints are in.
The top 2 joints are a simple type of dovetail and the bottom corners are mortise and tenon joints.
Some of the sashes had previous repair attempts that included short cut nails buried in the corners then covered over. These areas had a lot of rust and dry rot. I dug around the nails and pulled them out. I cleaned out the dry rot with a carpet knife.
So about Gorilla Glue. This stuff is cool because it follows water into areas then foams up and hardens. You just spray water on the joints and move them back and forth to work the water in then put the gorilla glue over the joint seams and like magic it foams up and changes color. It works great for the top joints that were just loose and didn't need rebuilding. The parts that were so damaged that they actually came apart needed regular wood glue. I used 2 'pipe' style long clamps and 2 corner clamps to dry the glue. One of my secrets for this part is to use pieces of lath board (from when I removed the plaster over the weight boxes in the master bedroom) to protect the sash from damage when clamping. Another trick is to use a lot of wax paper to prevent the glue from sticking to the workbench.
 Here's a vid of me trimming the Gorilla Glue after it dries. This takes practice to do with a razor blade without cutting yourself so be careful if you try to do what I'm showing in the video.
This is me removing the clamps.
After the clamps are removed its time to test fit the glass because sometimes the sashes change shape a bit from the gluing. Use a wood chisel to shape the edges to make the glass fit. You also have to clean the rock hard glazing from the glass edge. My brother is very good at this. The video of him cleaning glass on my youtube channel is the most watched vid I have there.
Here is how to get rock hard glazing off old glass edges so it can be reused. Thanks Bro!
The top 2 joints are a simple type of dovetail and the bottom corners are mortise and tenon joints.
Some of the sashes had previous repair attempts that included short cut nails buried in the corners then covered over. These areas had a lot of rust and dry rot. I dug around the nails and pulled them out. I cleaned out the dry rot with a carpet knife.
So about Gorilla Glue. This stuff is cool because it follows water into areas then foams up and hardens. You just spray water on the joints and move them back and forth to work the water in then put the gorilla glue over the joint seams and like magic it foams up and changes color. It works great for the top joints that were just loose and didn't need rebuilding. The parts that were so damaged that they actually came apart needed regular wood glue. I used 2 'pipe' style long clamps and 2 corner clamps to dry the glue. One of my secrets for this part is to use pieces of lath board (from when I removed the plaster over the weight boxes in the master bedroom) to protect the sash from damage when clamping. Another trick is to use a lot of wax paper to prevent the glue from sticking to the workbench.
This is me removing the clamps.
After the clamps are removed its time to test fit the glass because sometimes the sashes change shape a bit from the gluing. Use a wood chisel to shape the edges to make the glass fit. You also have to clean the rock hard glazing from the glass edge. My brother is very good at this. The video of him cleaning glass on my youtube channel is the most watched vid I have there.
Here is how to get rock hard glazing off old glass edges so it can be reused. Thanks Bro!
Thursday, October 17, 2013
Evaluate the sashes
So the tear down is complete. (except the pullies, more on that later.) The interior stops, one side parting member, vertical trim, weights, ropes and sashes are all removed. The vertical trim, interior stops and sashes are refinished in the basement. The weights were wiped down and stored upstairs. The ropes were all thrown away. The parting members were broken and thrown away.
The 1st thing to do is remove the nails and latches. To evaluate the work that's needed or possible, some paint has to be removed. If any glass is broken, it's obvious that will need to be replaced, but the sash corner joints have all kinds of problems.
I learned that the best way to remove glass that has 100 year old hardened glazing without breaking everything around it is to use a heat gun. That has some risk too, like burning the paint, or wood and breaking the glass. Using a chisel or breaking it out is just not an option. The heat from the gun must not be too much on the glass or it will break which means the center of the heat cone will be over the edge of the wood. The outside of the sashes were originally painted with some sort of black laquer paint that would burn into the wood and damage it beyond the ability to sand it out, not to mention the horrible fumes it creates. So the paint on the outside (glazing side) must be removed by using chemicals even before the glass is removed. Read my previous post to see my favorite paint remover. I slopped the paint remover over the glazing as well because it starts to soften it up and makes removing it easier. After scraping off the paint I used a palm sander to remove as much of the paint residue as possible. Then I went after the glazing with the heat gun. It took some practice to get the glass out without breaking it. I broke 2 or 3 panes doing this before I developed the right combination of chemicals, tools, job order, and techniques.
After the glass is removed, the sash can be cleaned up the rest of the way. Remove the paint from the inside surface with chemicals. Use the heat gun and putty knife to remove any left over glazing from the rabbited edge for the glass. The paint remover will make the wood a bit wet and leave chemical residue in the areas you can't get with a scraper. Make sure the wood and residue are completely dry before sanding or digging out the residue.
Now the sash can be evaluated for needed repairs.
Here's a vid of me using a carpet knife to remove the rot before patching with epoxy.
Completing the tear down

Ok, so tomorrow, I'll start writing about the sashes I did last winter.
Project plan
This project started because of several reasons. The glass was broken in some, most had very old and fallen out glazing. All the exterior surfaces and sills were painted with oil based lead paint that had fallen off completely or was cracking. The missing paint and cheap aluminum storm windows allowed water damage to rot the sashes and crack the sills. I removed some sashes and stops and saw the extent of the damage that led me to the conclusion that this would have to be a complete restoration or it wouldn't look or work well. I thought the damage would mean I would be replacing a lot of pieces. I don't have a wood shop with power tools like table saws, planers, routers, drill presses and such, so rebuilding pieces from scratch was not an option. I looked for local woodworkers to make some sashes. I found some, but they were going to charge hundreds of dollars. Then I looked at the wood in areas that weren't painted and saw how solid and straight the grain was and decided to just strip and fix anything I could with mostly hand tools, chemicals and a heat gun.
Wednesday, October 16, 2013
My favorite paint remover


I fist saw it at Lowe's next to another product called Citristrip.
I was looking for a safe paint remover I could use indoors.
This stuff has very little smell although don't put your face in it, and open a window while you're putting it on, or scrapping it off.
My windows had a black lacquer paint on the outside with oil based lead white paint over that. The inside had a layer of white oil based with 2 color coats of interior latex.
The paint remover had to be put on thick and soak for at least 12 hours, and at most 24 hours, or the wood will get too wet. I put plastic wrap over the pieces so the remover wouldn't dry out, and it cuts down on fumes so you can close the shop windows if it's cold outside.
Be careful when you scrape it off because the wood will be a bit wet and will damage easily. It's also a goopy mess so wear eye protection and an apron and gloves. A mask is optional, but I use a thick paper mask like this one.

I found a box of 6 quarts of the Klean-Strip Green on Amazon so I grabbed them. All indications on the internet are that this product has been discontinued, but you might be able to find some.
Friday, October 11, 2013
Tear down
Having storm windows allowed me to remove the windows and still have protection from the weather. In Iowa, this is a must. I'm not living in the house so I only work on this project on weekends and sometimes after work. This means the windows will be out of the wall for a long time. The storm window in the center window was missing the lower sash for some unknown reason. To cover the hole, I cut a piece of thick cardboard and wrapped it with a plastic garbage bag. I taped the cardboard to the aluminum frame of the storm window with packing tape. I left it this way all winter last year. That room is unused, so with the register and the door to the hallway closed, it didn't affect the heating bill too much.
I started by removing the outer sash stops with a small trim prybar, then the lower sash can be removed. Next, the upper sashes were painted shut, so they had to be broken free. Then the parting members were removed from one side only to allow the upper sash to be removed. The parting member taken out would have to be replaced anyway, so I wasn't worried about destroying them. Good thing because they wouldn't come out without breaking.
After the sashes were removed, the weight boxes had to be opened to replace the broken and old ropes. The boxes don't have access panels, so the whole vertical trim boards had to be removed. The weights were removed and the old ropes thrown away. All of the sashes and removed trim pieces were taken to a shop area in the basement to be restored and painted.
Weather and the need to isolate the work areas from the rest of the house limit what you can do and when. For these reasons, the spring and fall are the most productive seasons for window work.
Some parts of this project can't be done during the very cold winter due to the need for ventellation while using a heat gun, and warmer temps for some chemicals like adhesives and epoxy. When the weather gets really hot, it also makes it difficult to work on the items that can't be done in the basement because the room is upstairs, we don't have central air conditioning, and the door must be kept closed due to the fumes and sanding dust.
I'll just write this part as if the weather wasn't a factor, but keep in mind that some tasks can't be done at certain times which messes up the task order that is sometimes required. At times the cart just can't go before the horse, so to keep working, choose jobs on items that don't depend on each other.
The jobs now are divided into 2 main work areas, upstairs in the bedroom, and in the basement shop. Most of my Youtube videos are of work done in the basement. For each major job I'll talk about the tools, materials, and protective safety items before going over the work. I'll present the work techniques and any special tips and tricks I've discovered along the way.
Prepare the area for some messy work. Equipment for this step include: Plastic sheets, bed sheets, a big box fan, a vaccume with a good filter bag and a hose (canister type works best), and paper towels.
I put the plastic sheet over the carpet and some plastic on any surface I intend to lay down tools. I put bed sheets over all the other furnature. Make sure to cover anything cloth too because burning paint fumes will stay in cloth items that can't be washed like couches and soft chairs.
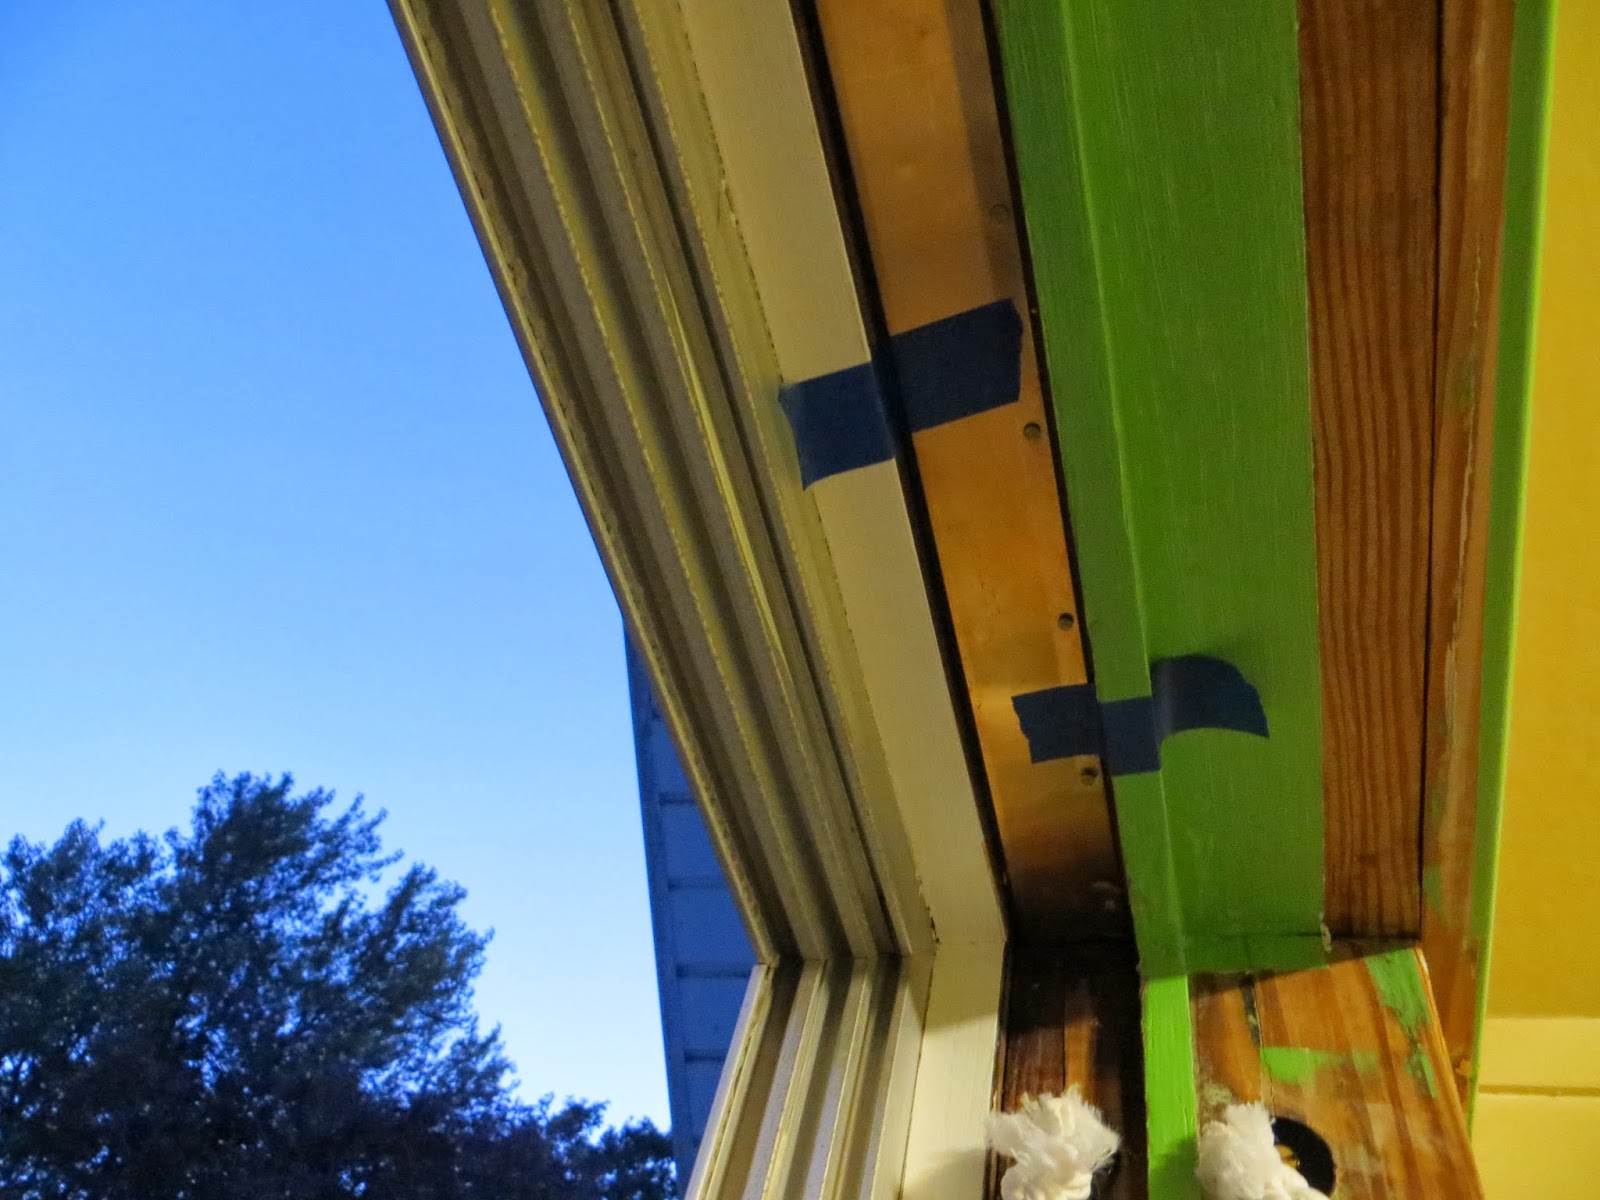
Making the top sash fit
Today I put in some bronze strip weatherstripping in the top of the right window because I found out it didn't fit tight at the top when latched. I had to glue a strip of wood to the top of the sash, but the piece wasn't thick enough. Here's a pic of the sash.

Here's a pic of the weatherstripping. I'm preparing it by dimpling the nail spots with an awl every 2 inches.
I'll have to say nailing this stuff on in tight areas around soft painted wood is a pain in the you know what!
I had to use tape to place it. The dimples help a lot. Hold the nail with a pair of needle-nose pliers and start it with a small hammer. The nail is so close to a painted parting member that a spike made for fixing cars and bigger hammer was used to get it flush. A nail set was then used to counter sink it a bit. Hammering in an upward direction made this piece very hard to install.
Thursday, October 10, 2013
Link to youtube videos
This link is to my youtube videos. It has some window sash repair techniques I've been learning. Some of them are of my brother doing the work. He does the glazing and glass prep and some epoxy scraping. I do almost everything else. I also run the camera or have it fixed on a tripod for most of the vids. Please enjoy them, comment and link them to anyone else.
http://www.youtube.com/user/ttfidrat
http://www.youtube.com/user/ttfidrat
First Steps
I started the project on a room upstairs that was not being used as a bedroom. It has a set of 3 windows with the weight boxes and trim being shared with the one next to each one. The center one is taller than the left and right windows. There are 4 weight boxes with vertical cover trim. 3 cap trim pieces and one shared long stool piece. All the trim in the room is painted with at least 3 layers of paint. One off-white, oil based layer, a pastel purple latex layer my sister had used, and a light green latex layer that was the color when I lived there. I wanted to keep the green color, so I had it color matched at the paint store from a piece I removed from a closet where it wasn't faded or dirty.
Before and after pics
This project was started to replace the glazing for the glass, fix the broken weight ropes, remove and replace the white, lead based, chipping paint. It turned into a full restoration project because the quality of the wood was so repairable. It's southern yellow pine aged for 100 years. The grain is very straight, and solid. I have not seen one knot or splice.
I started by testing the paint for lead with a test kit. The white flaking paint on the sills and side pieces were found to be oil based lead paint. The tip of the test stick immediately turned scarlet red when put on the white paint. The interior colored latex tested negative for lead, but the 1st layer of paint was oil based. I couldn't test the oil based layer for lead, but I know it's there because of how it melted under the heat gun.
So here's some pics of the paint I started with.


Here's some after pictures. You can see the straight grain of the wood. All the lead paint was replaced with latex. Don't worry, we'll get there!


You can see how it's flaking and cracking. All lead based, very bad. The only good thing about this old oil based paint is melts and scrapes off wood very easily. The bad thing is it puts off lead fumes when heated, so you have to wear a special type of paint mask rated for lead fumes. The filters have a pink color to indicate the chemical filter rating. Here's a pic.
 I found the best method to remove the paint is with a heat gun and a stiff, sharp, putty knife. I would never sand until as much paint is removed as possible with a heat gun. The sanding dust would be too hard to contain and would contaminate the whole area. Just put a big fan in the window blowing out, close the door, wear a mask, gloves and an apron, and you should be fine for small jobs like this. That's it for tonight.
I started by testing the paint for lead with a test kit. The white flaking paint on the sills and side pieces were found to be oil based lead paint. The tip of the test stick immediately turned scarlet red when put on the white paint. The interior colored latex tested negative for lead, but the 1st layer of paint was oil based. I couldn't test the oil based layer for lead, but I know it's there because of how it melted under the heat gun.
So here's some pics of the paint I started with.
Here's some after pictures. You can see the straight grain of the wood. All the lead paint was replaced with latex. Don't worry, we'll get there!
You can see how it's flaking and cracking. All lead based, very bad. The only good thing about this old oil based paint is melts and scrapes off wood very easily. The bad thing is it puts off lead fumes when heated, so you have to wear a special type of paint mask rated for lead fumes. The filters have a pink color to indicate the chemical filter rating. Here's a pic.
Tuesday, October 8, 2013
Intro to my house
This is my house.
 It was built in 1909, a 2 story (1 1/2) craftsman style house. It has a basement you can stand up in, and a screened in porch the full width of the front. It has two full rooms upstairs and a smaller room with a dormer roof. All 3 rooms upstairs have walk-in closets with solid wooden doors.
Here is the parcel post picture.
 As you can see, it has a lot of windows. The upstairs has 11, 100 year old, wooden, double hung, counter weighted windows with matching doors and baseboards.
The windows are the main subject of this blog.
I'm doing a full restoration of all the windows upstairs, 2 windows in the master bedroom on the main floor, and one big window in the kitchen. I count 26 sashes that I could do total. So far as of Oct. 2013 I've restored 11 with only 2 permanently installed. I'll be logging my previous work and discussing future plans in this blog so check back to enjoy my old wood windows journey.
Here is the parcel post picture.
The windows are the main subject of this blog.
I'm doing a full restoration of all the windows upstairs, 2 windows in the master bedroom on the main floor, and one big window in the kitchen. I count 26 sashes that I could do total. So far as of Oct. 2013 I've restored 11 with only 2 permanently installed. I'll be logging my previous work and discussing future plans in this blog so check back to enjoy my old wood windows journey.
Subscribe to:
Posts (Atom)